Showing posts with label cake. Show all posts

Tuesday, September 21, 2010

Star Wars party ideas


Those who've been reading my blog for a while will likely remember the series I did on the Star Wars Lego party we threw for Liam's 6th birthday. Although that series -aptly entitled "How to Host a Star Wars Party in 5 Excruciatingly, Painstakingly Detailed Steps"- has much more detailed how-to information, here's the nitty gritty:

My initial plan involved creating themed invitations, making pool noodle lightsabers, a Death Star pinata, kicking around a Death Star beach ball, and giving out Clone Wars kites in lieu of goodie bags, as well as letting each child take home a lightsaber. That summer, there was Clone Wars merchandise all over the place, so that made things easier.

Step 2: The Invitation
By taking and merging several screen shots from the Lego.com site, I was able to put together a truly awesome invitation, that I'm just now realizing was hosted on a photo site that I let lapse. Oops. But trust me, it was AWESOME.

Truly a labour of love, these lightsabers took me hours to complete. Each was different. Each was super detailed. Each involved painstakingly cutting out tiny strips and squares of electricians tape and duct tape. But they, too, were awesome. 
DSC_0198 edit

Part 4: The Fondant
This cake required fondant to decorate properly. It was my first try making marshmallow fondant and I loved not only the process, but also the result. It's much easier than it looks, and each subsequent attempt became easier and the result more impressive. Plus, you can't go wrong with kids and taking sugar (the marshmallows), adding more sugar and then covering a sugar-filled cake... AND THEN SENDING THEM HOME.


Part 5: The Cake
For a full step-by-step of how I constructed this cake, you'll have to click on the link above. For now, a few pictures will have to suffice.


next to my then 4 1/2 month old

Part 6: The Pinata
For the Pinata, we simply made a (wonky shaped) ball by covering a balloon with papier mache. We probably put seven or eight layers of paper on it, each time letting it dry hanging on the clothes line. I was most worried about how we would hang it and how to make it strong enough to let the kids all have a few whacks at it. In the end, it was plenty strong enough. We painted it with two shades of grey paint, then let Liam do the final detail. I love how it turned out!


In the end, it was a lot of work beforehand, but the day of the party was relatively stress-free and it was all worth it in the end. All of the guest had a super fun time and the birthday boy was made to feel love and special and celebrated.


TOTALLY worth it.
Links to how we did it:

pre-party planning and ideas
the invitation how-to
pool noodle lightsabers
marshmallow fondant
the cake (in less than 100 pictures)
the big day

* * * * * * * * * *
Need some party supplies? Want to make your own pool noodle lightsabers? Check these links below and have it all delivered to your door. If you find any of these links are broken or sold out, let me know and I'll find some new sources. Wouldn't the minifigure ice cube trays be fun? They could be used for ice (obviously), chocolate, or even to make Lego man crayons!

Disclosure: I'm a member of the Amazon Affiliates programs. This means that if you purchase an item from a link from this blog to those shops, I will receive an affiliate commission. However, I only share products and services that I would personally use and that I hope will be a good fit for you.

Monday, May 17, 2010

rainbow cake: part II

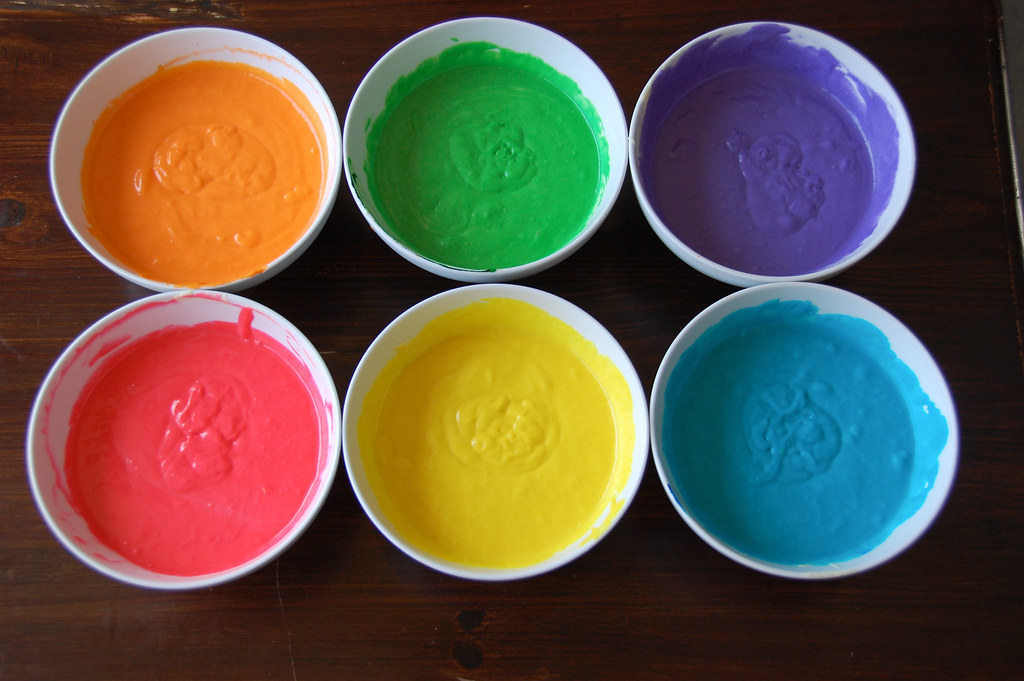
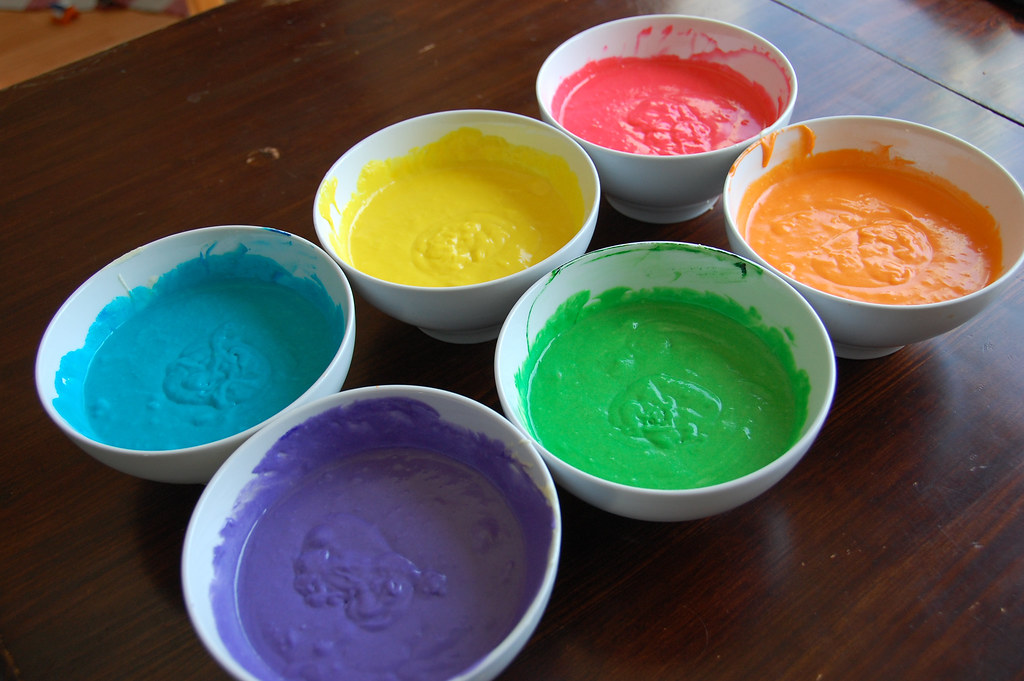
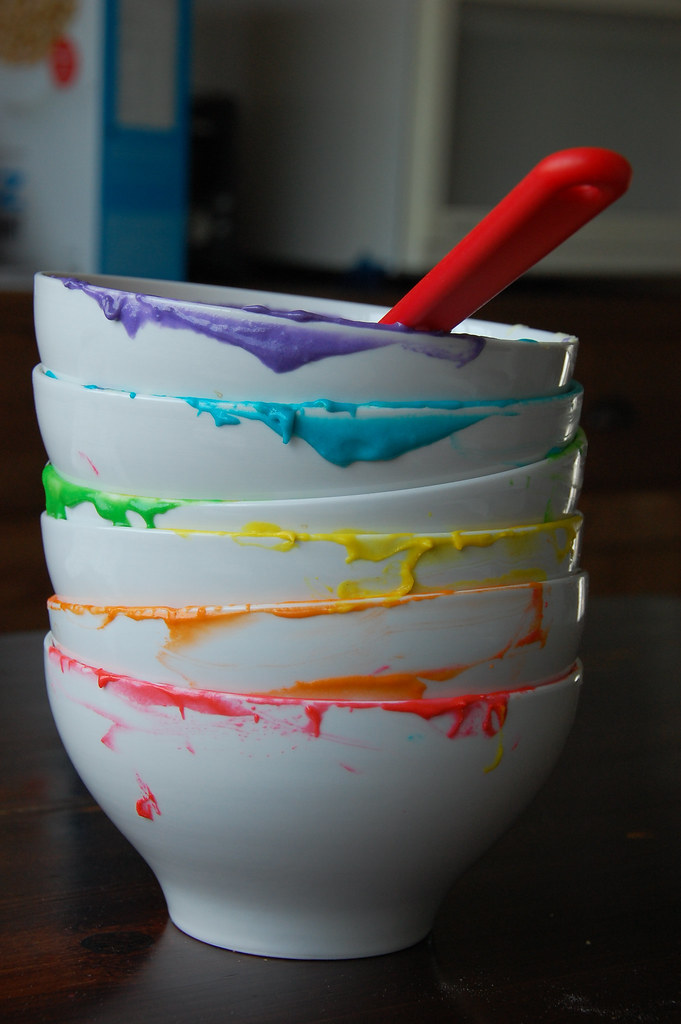
This post is for all those wondering how I made the rainbow cake for the princess castle cake I did last weekend. It really wasn't hard, just took some steps. After mixing up the cheapest some simple white boxed cake, I divided the batter into six bowls and mixed a different food colouring into each bowl. Take note that I didn't use your grocery store brand liquid food colouring, but the professional icing colour gels meant for cake decorating (like these). While I'm not normally a fan of food dye (especially for kids), there's just no way to get these kinds of vibrant colours with natural dyes.

They're even brighter when cooked. Serious.

rainbow cake-1

rainbow cake-2
these pictures weren't edited at all (not even white balance... ugh. sorry.)

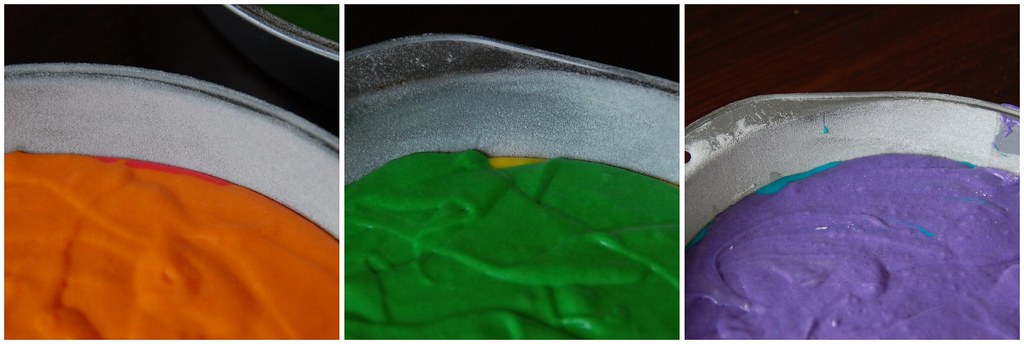
It would've been better to bake each colour individually so I'd end up with six half cakes, but I only had to round pans and I didn't feel like spending all afternoon in the kitchen, pouring, filling, levelling, baking, cooling, removing, re-greasing, re-pouring... you get the picture. So instead I did two colours per pan. Below you can see a bit of the first colour peeking through around the edges.

rainbow cake mosaic I

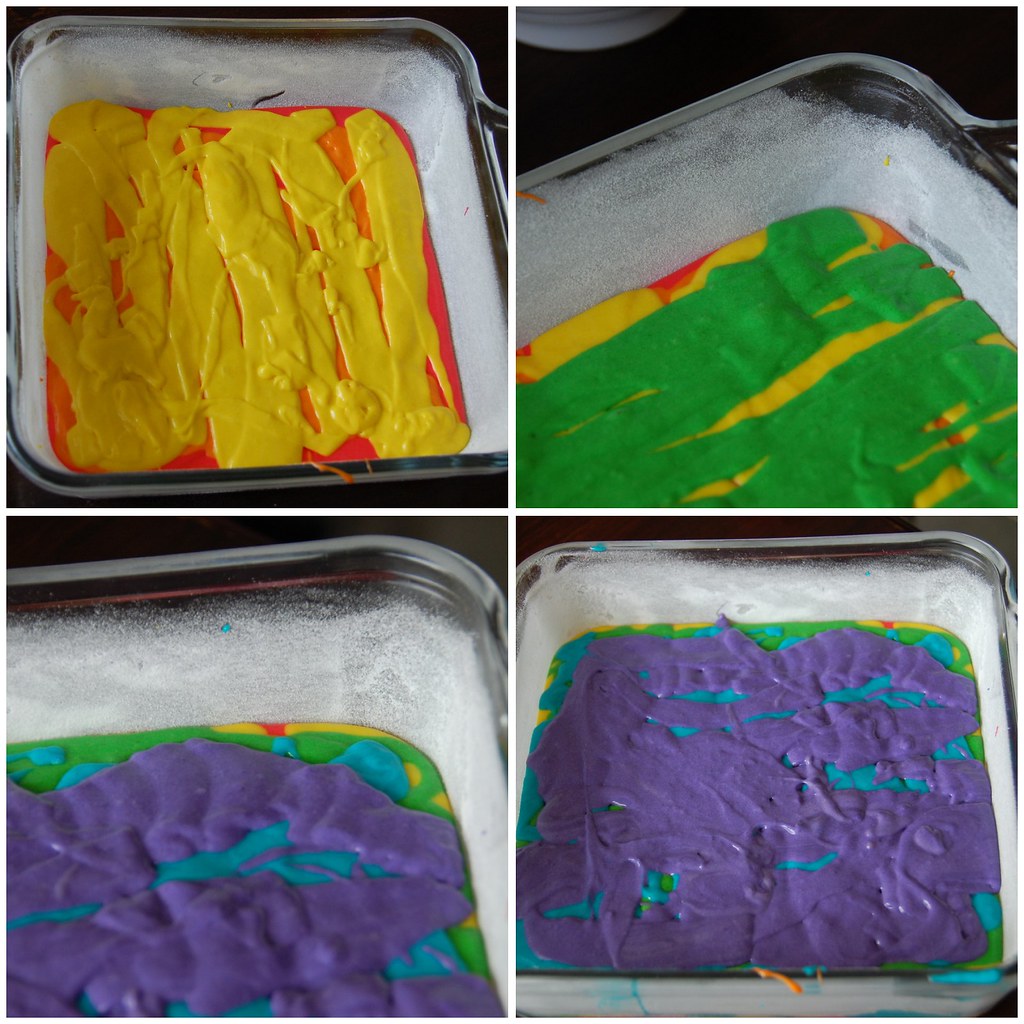
Since two boxes of cake batter should have made four cakes, but I was only using three, I didn't want to fill the pans right up for fear of cleaning -albeit cheerfully coloured- cake batter out of the bottom of the oven. I used the leftover batter to make a square cake, pouring each layer into the pan as evenly as possible. I thought I might need this extra cake to build/repair parts of the castle, or if we needed extra cake for extra people, but ended up taking it to church where it was inhaled by some very excited, very amazed 3-9 year olds.

rainbow cake mosaic II

rainbow cake-10
messy and pretty at the same time

Melo's 4th bday-44Melo's 4th bday-8

The layers of rainbow cake made up the main body/section of the castle, while the towers were made of rice krispie treats. All in all, it was, yes a bit of work, but also a huge success. 

Sunday, May 16, 2010

almost as good as my Lego Star Wars cake

(If you didn't read about the ridiculous amount of time I spent making Liam's Lego Star Wars' Clone Wars Commander Fox cake last year, here's the link.)

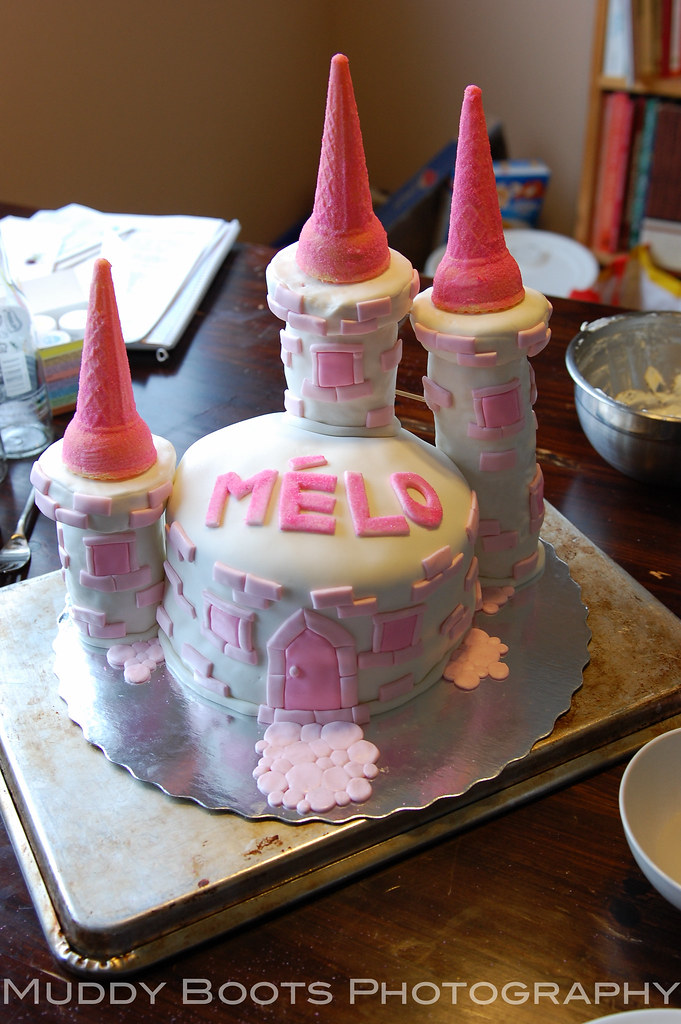
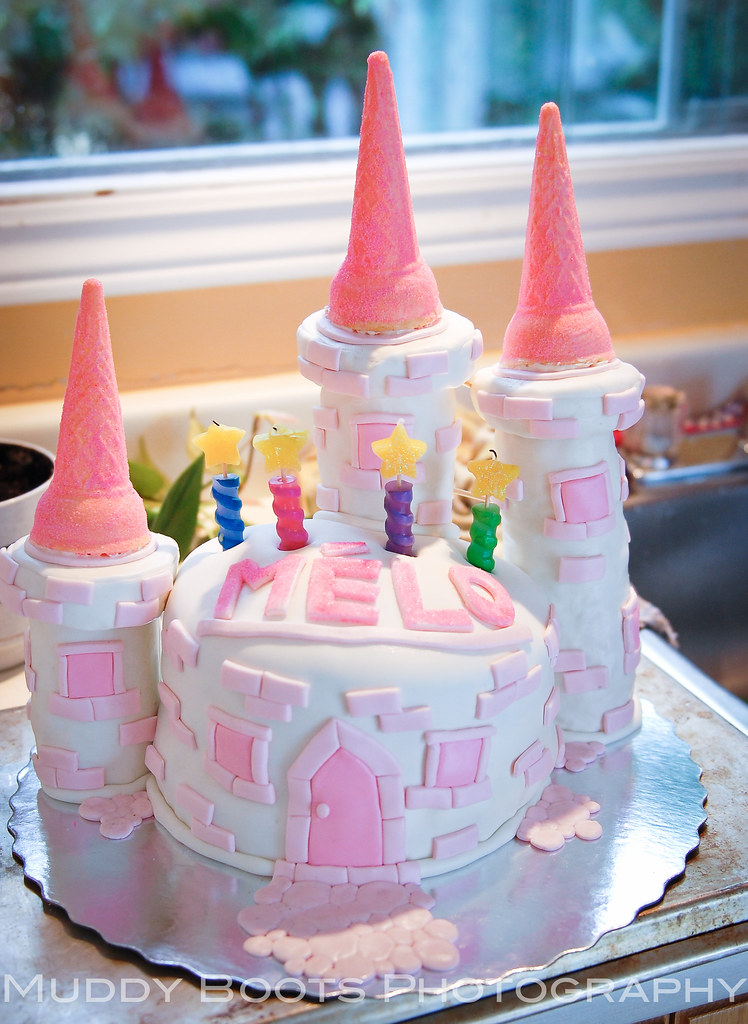
I didn't bother with all the step-by-step pictures I did with the Star Wars cake, partly because it was late, partly because I was lazy, but also because I didn't have a clear idea of what it was going to look like when finished. I started out with a three layer round cake, made some rice krispie towers and went from there.

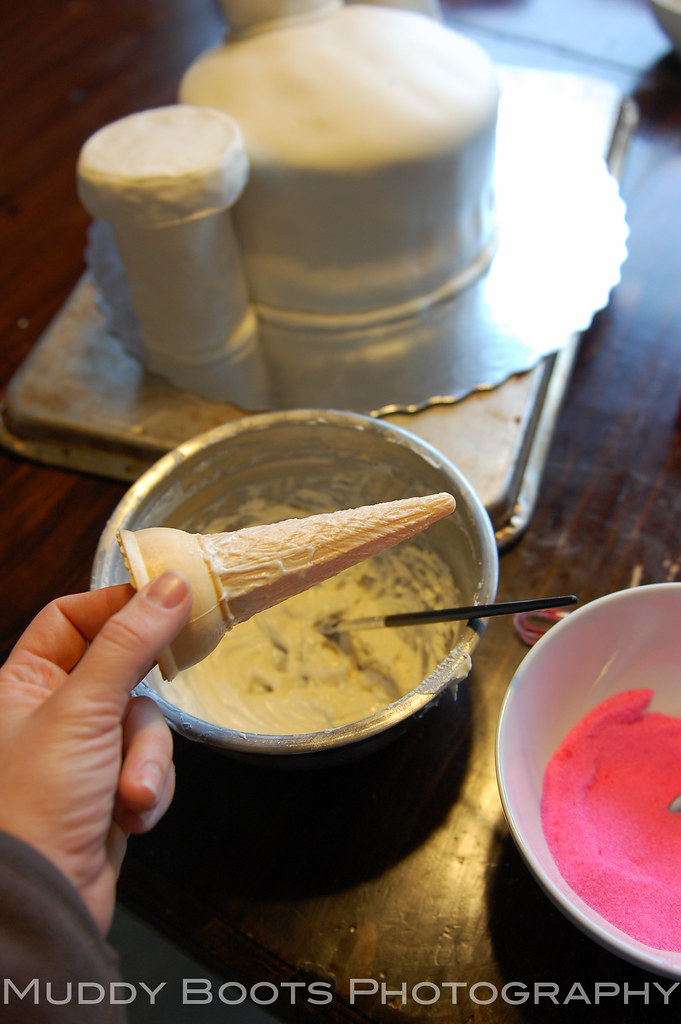
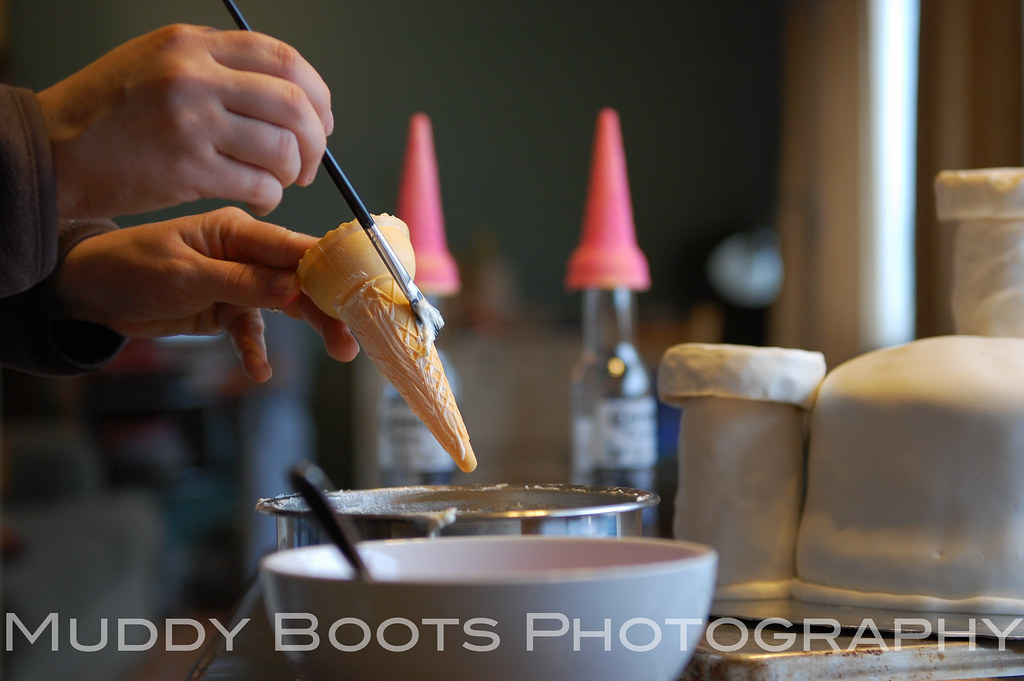
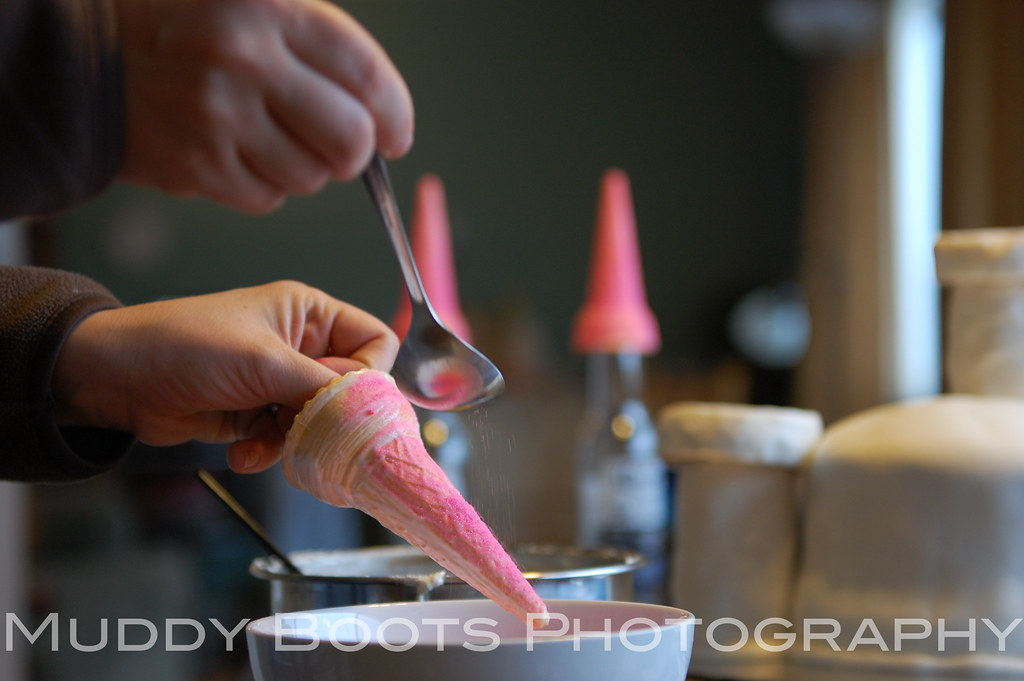
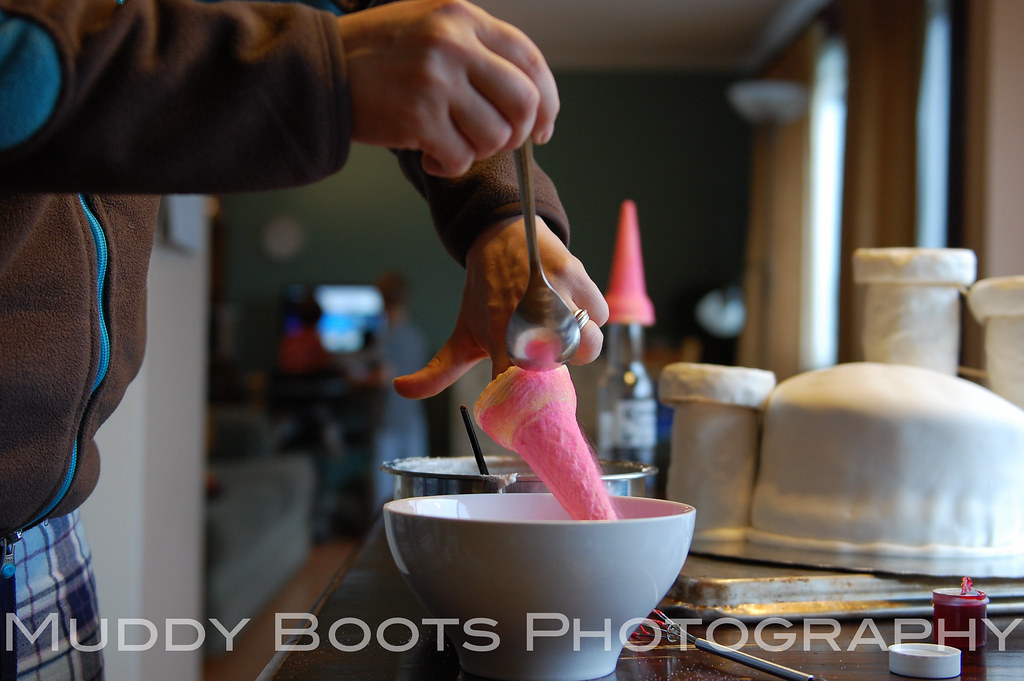
For the tops of the towers, I mixed some of the leftover icing with a bit of corn syrup then brushed three ice cream cones with the mixture,

Melo's 4th bday-50

 and covered them with pink-dyed sugar.

Melo's 4th bday-48

Melo's 4th bday-47

Melo's 4th bday-49

Melo's 4th bday-46
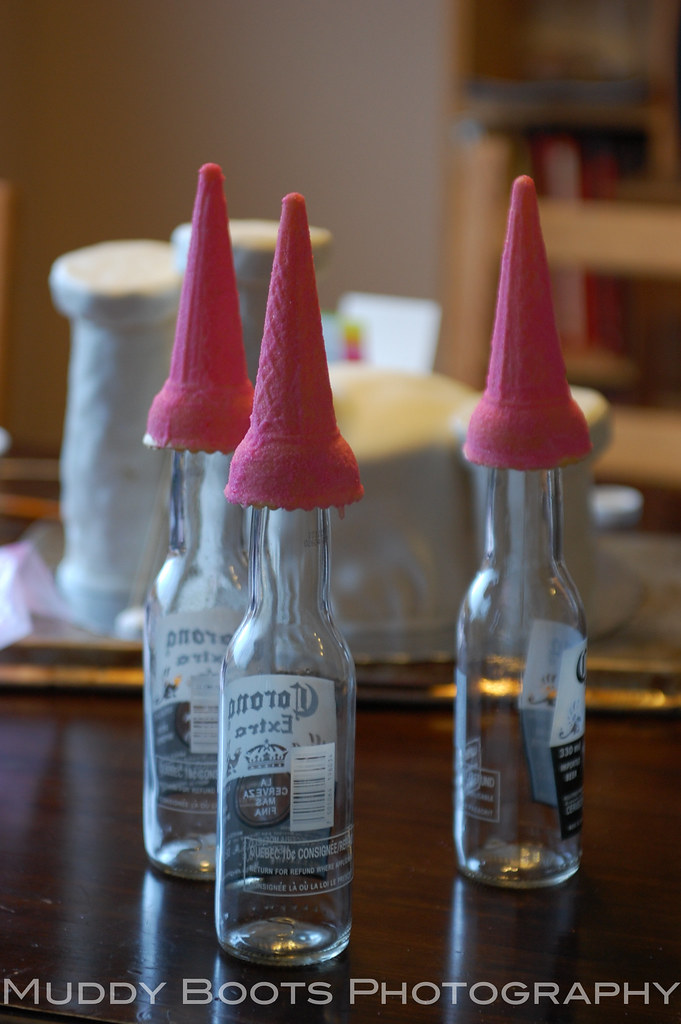
beer bottles made for an excellent drying rack

Having covered everything in white marshmallow fondant and decided on a final placement of the towers the night before, it was the final details that remained.

And I'm nothing if not a glutton for punishment when it comes to the details.

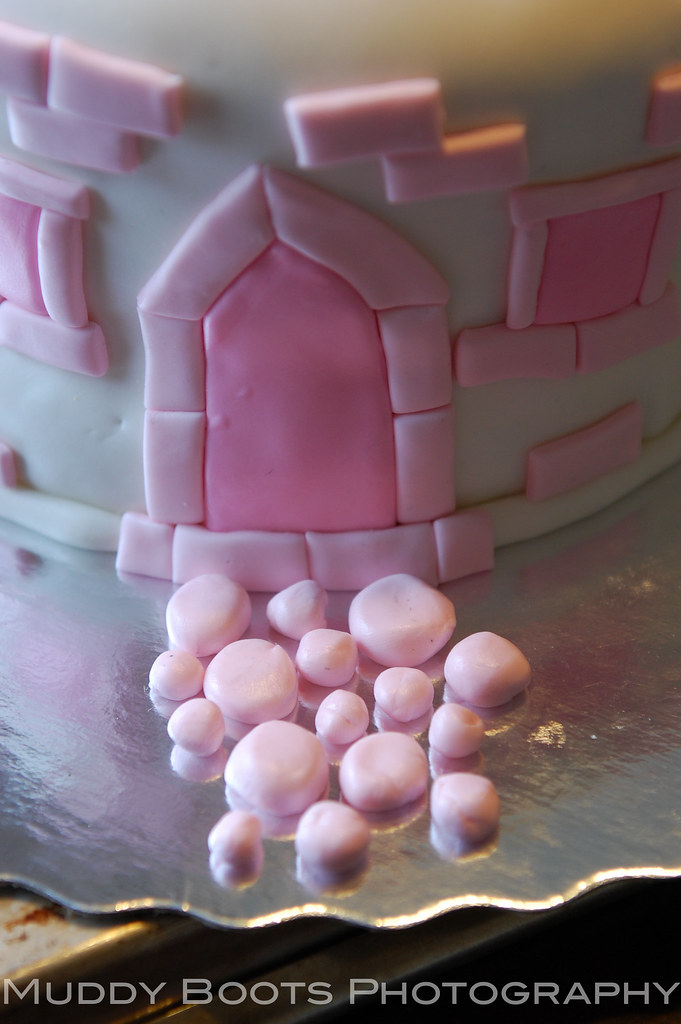
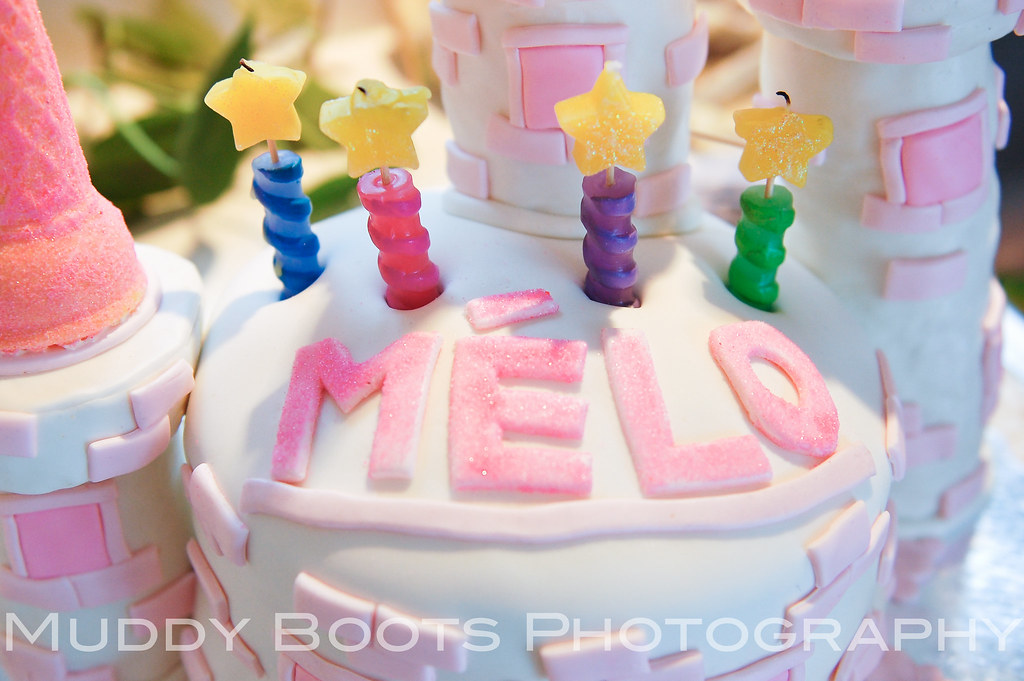
I kneaded the remaining white fondant with a bit of pink food dye (the gel kind intended for cake decorating) and used this to make the door, the little windows and dozens of little pink bricks. When I did Liam's Lego Star Wars cake, I added all of the fondant details with lines of icing... isn't that how they do it on Ace of Cakes? I thought it was, but after this cake, I'm re-thinking that. This time, I used a paint brush dipped in water and it worked SO well and was SO less messy. I'd lay half a dozen little bricks on the palm of my hand, face down, brush them all with water then stick them on. There was no need even to hold them in place. Super easy. I also made little round "stones" to squish into a cobble stone path.

Melo's 4th bday-45

Melo's 4th bday-44

I painstakingly cut out the letters to Mélo's name using the tip of a butter knife... then remembered I have a set of alphabet cookie cutters on the top shelf of my pantry. Nice.

Melo's 4th bday-19
ready to surprise the birthday girl

Melo's 4th bday-18

I'd offered to make this cake for the daughter of my good friend, Valérie. The party was a princess theme (if you hadn't caught that already). Mélo turned four and there's just no more perfect age for an all-out girly princess party, complete with princess dress-up clothes, twirling, dancing, more twirling, costume jewelry, make-up, a tea party, and even a visit from a "real live princess" (someone dressed as Snow White). 

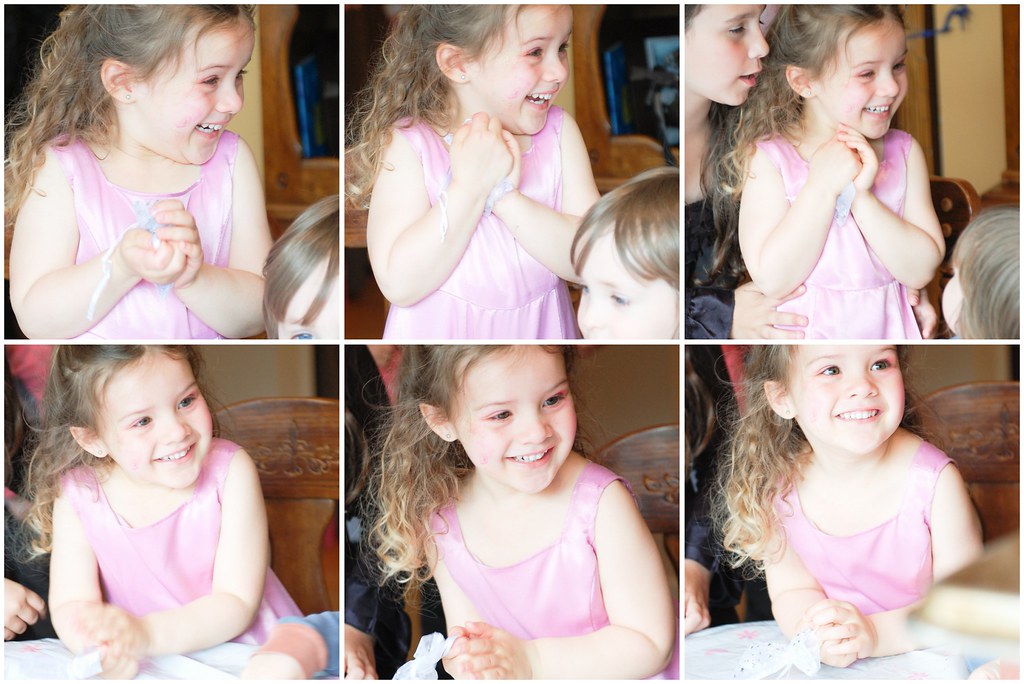
We'd managed to keep the cake out of sight from the time I arrived with it, and I gave her dad the honour of being the one to bring it out to her. Here's her reaction... Priceless right? The bottom left picture is the only one that really shows it, but she was clapping the whole time it was being walked over. 

Clapping and squealing.

cake surprise mosaic

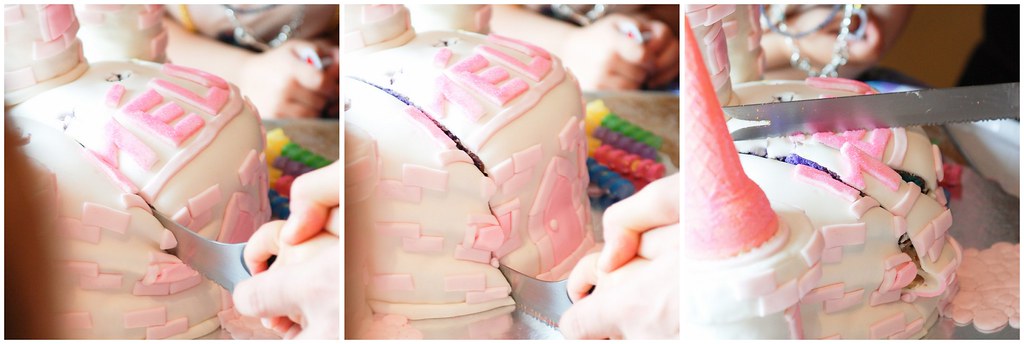
After she blew out the candles, I told her that there was a surprise INSIDE THE CAKE and that she'd have to cut into it to see what it was.

cake cutting mosaic

Melo's 4th bday-8

Did you ever see a happier birthday girl? And did you ever see a more shockingly bright cake?? Even with the picture being a bit washed out, it's still amazingly vibrant. She was so, so excited. 

SO EXCITED. 

I will admit that it was a lot of work, but every time I look at those pictures of her face when the cake was brought out, I'm reminded why I did it. You only have one 4th birthday party, and that window of blissful excitement over princesses-and-castles-and-rainbows-and-everything-pink-and-sparkly-and-over-the-top-girly closes WAY too soon.

Happy Birthday, Mélo.